Step 1- Exfoliate. Even the most expensive makeup will look like doo doo if it’s applied to dull and flaky skin. Kate Somerville makes an awesome exfoliater. A less expensive option is the old standby, St. Ives Apricot Scrub, which you could pick up at Target.
Step 2- Foundation or Tinted Moisturizer. Whichever product you use depending on the amount of coverage you want, try to get one that contains the word “illuminating” in it. This means that the product contains shimmer particles that ultimately help reflect light from your wrinkles and discoloration. Disclaimer– NOT blemishes though. And when choosing your foundation, be sure to beware of colors that seem “pinky” in the bottle. Try to go for more slightly yellow tinted b/c it’s more universally flattering and counteracts redness at the same time.
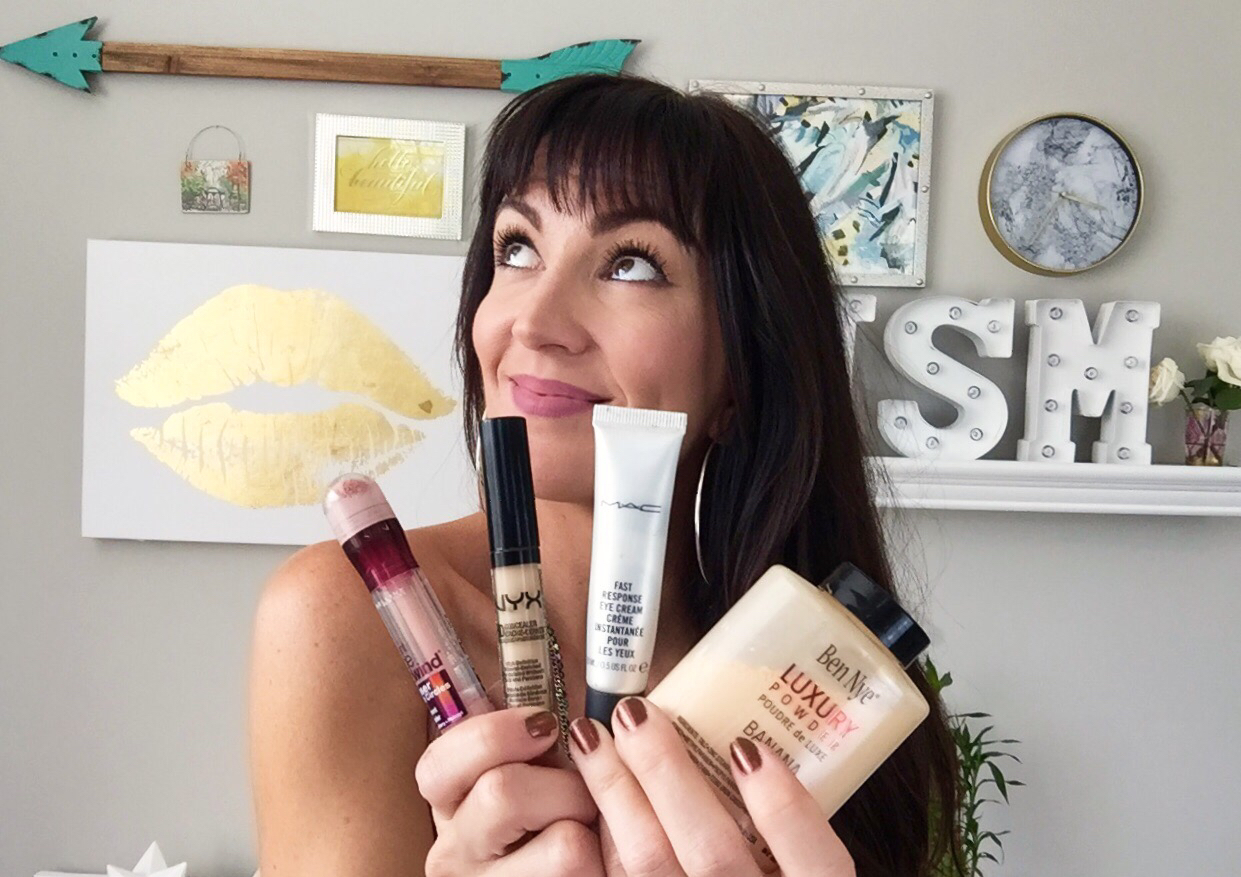
Step 3- Concealer. This is one of the more brilliant inventions in cosmetics- USE IT. And make sure it’s not too light in color. Choose a concealer that is one shade darker than your natural skin tone. Most women make the mistake of choosing a color lighter than their natural skin tone and this actually does the opposite of concealing- it draws more attention to the problem areas. Trust me on this one. Use it under eyes, on the sides of the nose where most of us have slight redness/darkness, and on any blemishes.
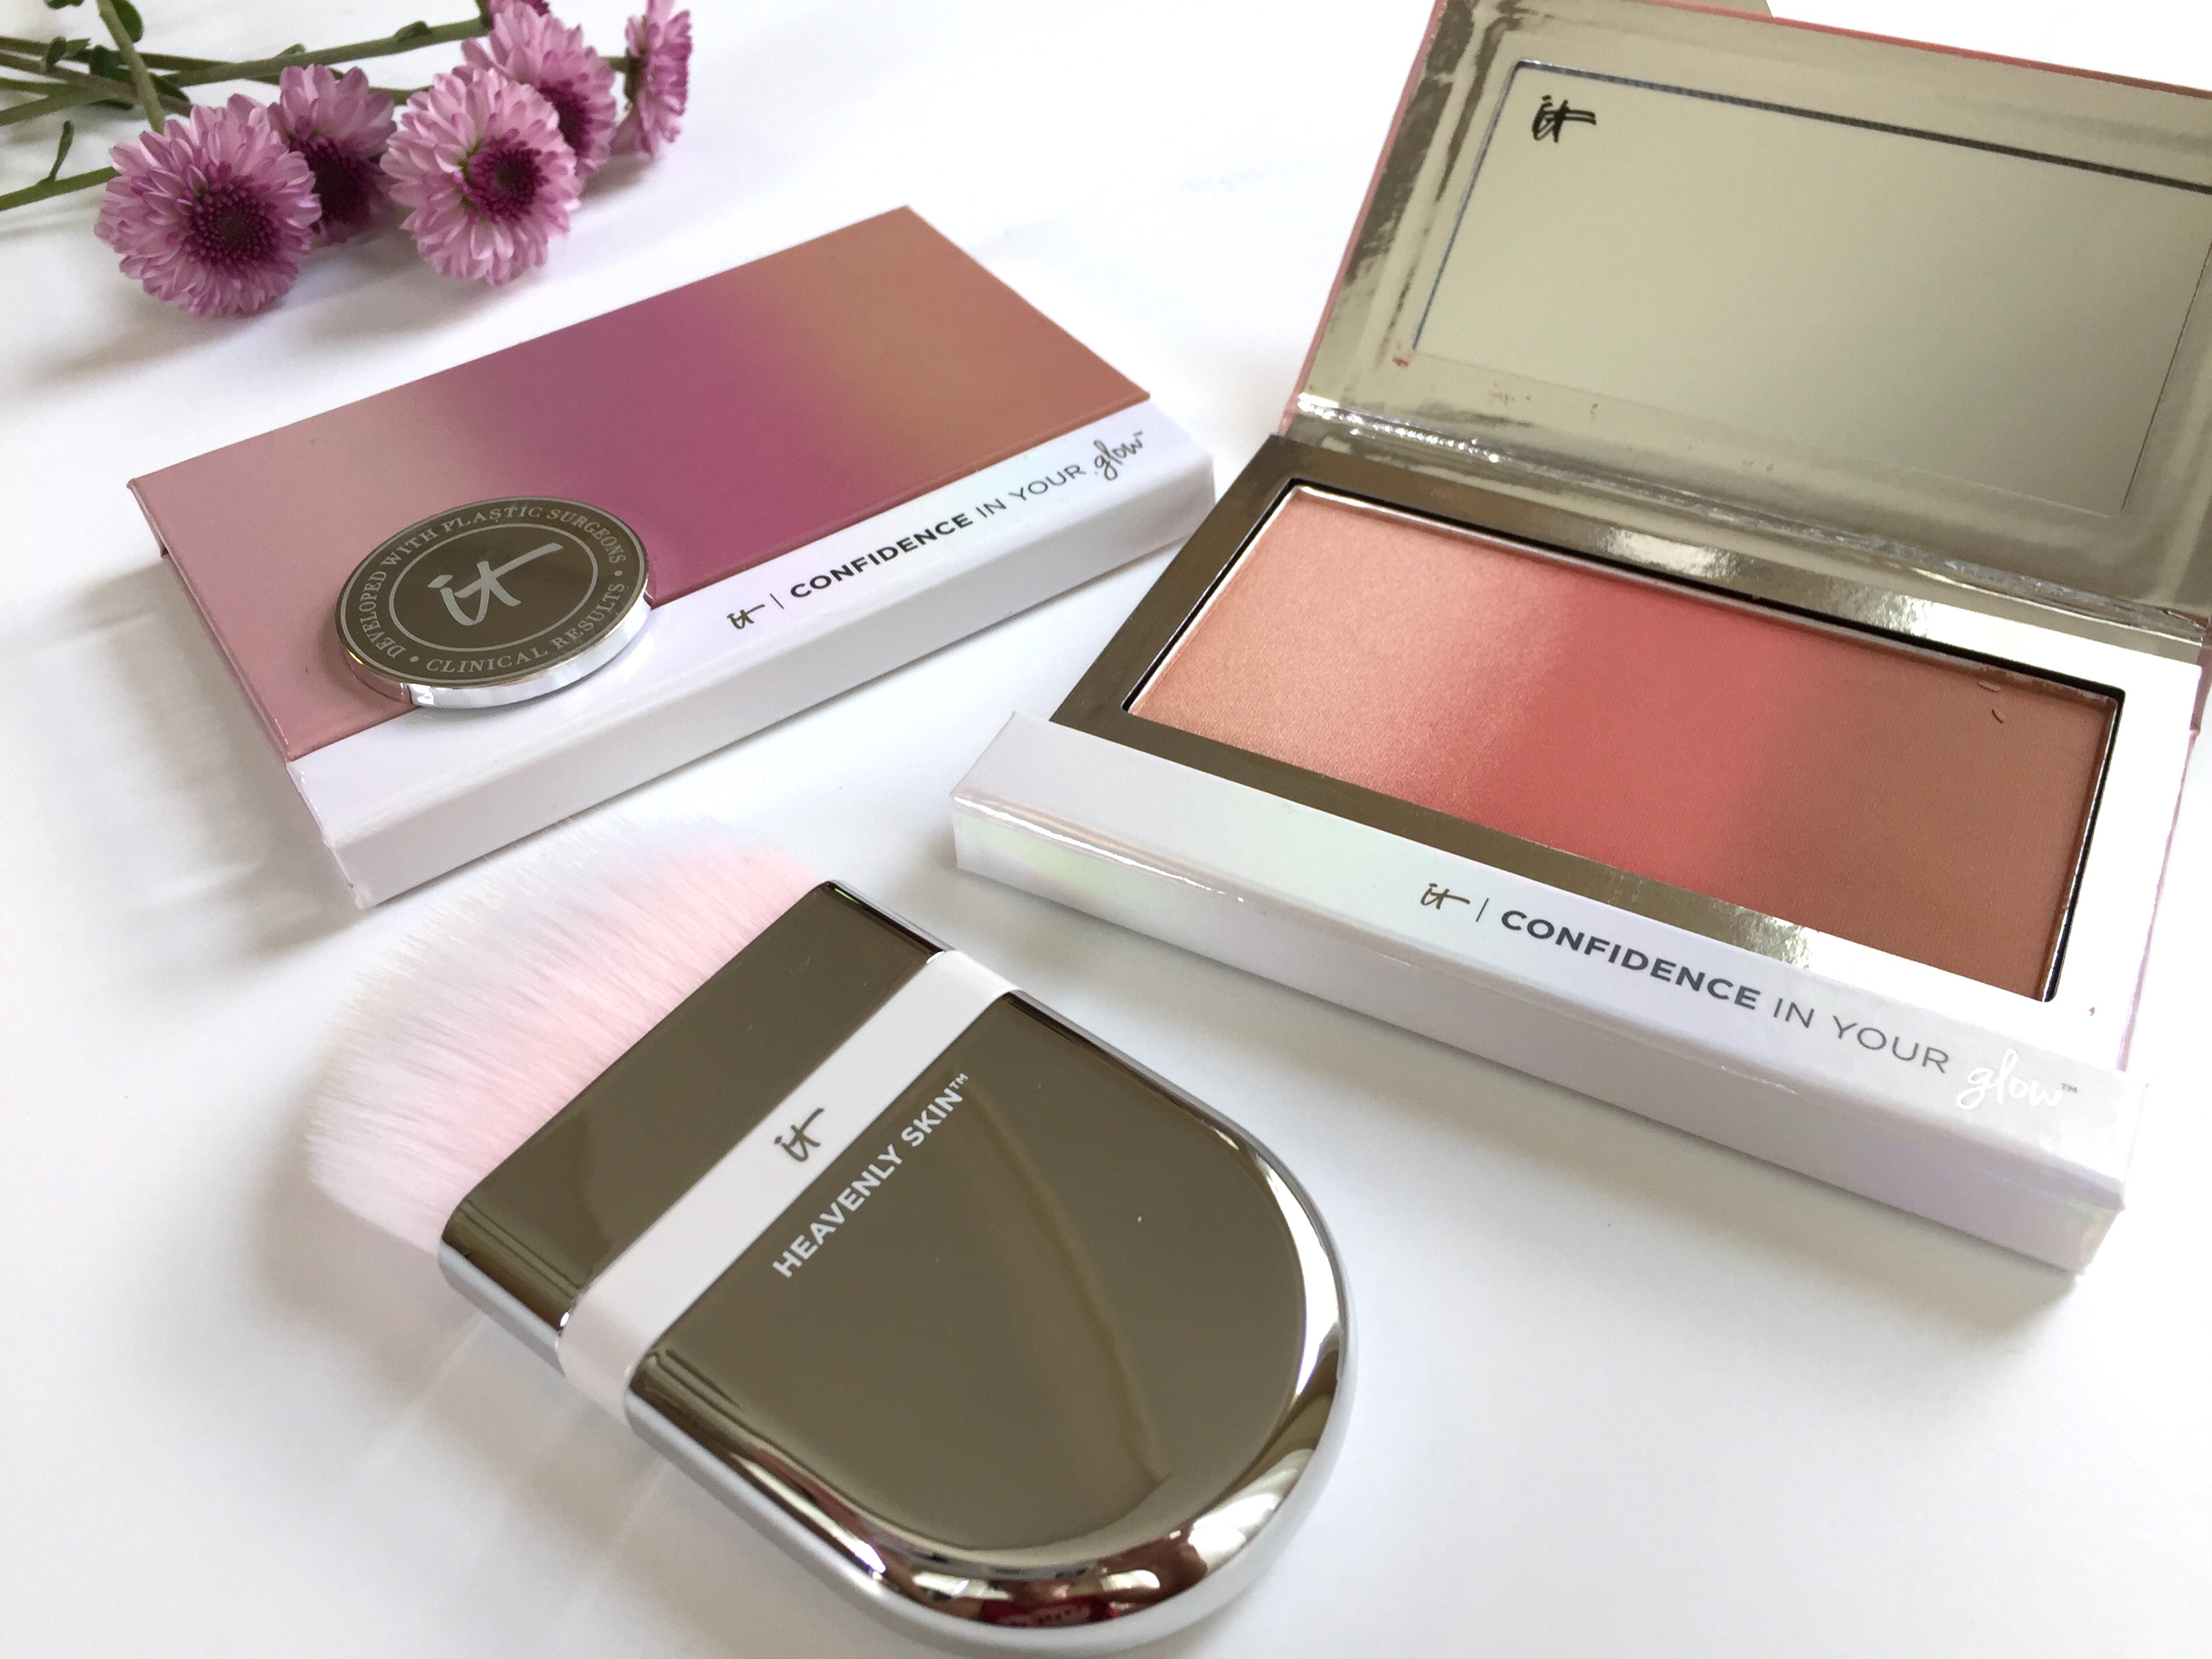
Step 4- Blush. Don’t underestimate the power of blush because nothing else looks as happy and healthy as a natural flush! You’ve heard the term, blushing bride, right?? Apply it in a swirly circular motion on the apple of your cheeks. No stripes please toward the ears- that’s so 1980’s. And if you’re feeling brave, go ahead and add a powder or liquid highlighter (Laura Mercier and Bobbi Brown make great highlighter bricks) along the top of your cheekbones starting right under the center of your pupil and pull it around in a half moon shape around the outside of your eye up along to the brow bone. This gives you a real move star glow!
Step 5- Translucent Powder. Dust translucent powder (which means no color so it’s easy to pick out!) all over your face to set everything you just did. It helps with overall blending and setting of the previous products. It seems like an old school thing to do, but it’s worth it to set your makeup.
There you go, your skin looks as fresh as Jennifer Garner’s in a Neutrogena commercial- minus the photoshop;-)


