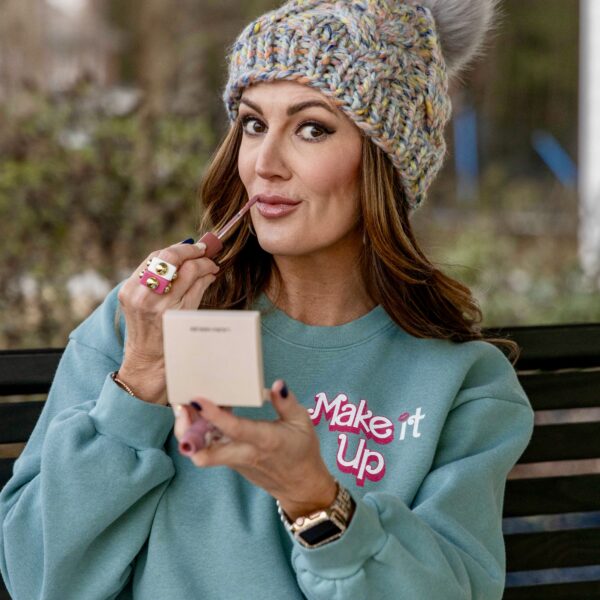
Want to learn some simple and effective MAKEUP HACKS to shake up your makeup routine?
Then look no further than this less than 3 minute video I created showing you some easy tricks on how to do anything from a winged eye, an eye brightener trick, to getting the illusion of fuller lips with just any old lipstick and highlighter.
Watch now by clicking on the arrow, then keep reading for my in-depth breakdown of each makeup hack and how to do them yourself.
Below I’m going to break down EACH hack shown in the video, step-by-step, so you understand exactly WHAT I’m doing along with the exact TOOLS I used and HOW to do it yourself.
1. WINGED EYELINER USING TAPE.
Tools needed :
– Nexcare Flexible clear skin tape
– your favorite liquid liner, I used NYX Epic Ink Liner
I use the Nexcare brand of tape that’s for actual skin because regular scotch tape can be too sticky for the face IMO. If you have to use regular tape, be sure to place it on the back of your hand and pull on and off a few times to take down the harsh stickiness before applying to the face. Take a few inches of tape and apply diagonally from lower lash line up towards last brow hair to create the dramatic slant you want for your wing. Take your liquid liner and start drawing along the edge of the tape and color in and create a small triangle shape connecting to your lash line. Make sure that liner is completely dry before removing tape.
2. DIY TINTED MOISTURIZER.
Tools needed :
– a moisturizer with SPF. I used a Paula’s Choice beauty fluid
– a medium- full coverage foundation. I used L’Oreal Infallible Pro Matte foundation
– a clean empty vessel with top to store mixture in (I used empty acrylic paint containers found at Hobby Lobby)
I like making this for when I’m in the mood for light coverage but don’t want to go bare faced! This is also a great way to use up almost empty foundation and giving it new life. Squeeze two parts of moisturizer to one part of foundation (so more moisturizer than foundation) and mix well. Store in a container with a tight lid! This is also useful for foundation you bought that might be too dark, but you can cut it with the moisturizer to lighten it up and give you more of a sheer wash of color!
3. EYE BRIGHTENING TRICK.
Tools needed :
– a peach eyeliner. I used Essence “silky nude”eyeliner (ONLY $3!)
Need a quick way to get brighter looking eyes?? Just use a peach or nude colored eyeliner (white works too but can be more stark and obvious) and draw along the entire inner waterline of the lower eye to help counteract natural redness you have in that area. Your eyes will immediately look more awake! This is one of my fave all time makeup hacks. Subtle, but works!
4. TAME UNRULY EYEBROWS (AND SET BROW PRODUCTS).
Tools needed :
– a spoolie. Mine was on the end of my Morphe micro brow pencil
– a can of hairspray
After applying any brow powders or pencils, you can set the hairs and products in place by spraying a spoolie directly with hairspray. Then raking the spoolie immediately thru your brows to keep everything in place – just like you use hairspray for your head! Same concept.
5. FAKE A FULLER LIP.
Tools need :
– any lipstick. I used Manna Kadar Beauty lip crayon in “Joie”
– powder or cream highlighter. I used my Fenty Beauty Killawatt highlighter “lightening dust/fire crystal”
Remember how you learned in elementary school art class that dark colors make objects recede and light shades bring them forward? That’s why adding a touch of your favorite highlighting product directly to the center of your lower and upper lips (after your lipstick is applied) can make them look subtly fuller, no injections required! You can use your finger to tap it into the lipstick or a lip brush.
6. LIPSTICK AS CREAM BLUSH.
Tools needed :
– any cream lipstick. I used the same Manna Kadar Beauty lip crayon in “Joie” as above
Need some instant cheek color but there’s no blush around? But you do have your favorite lipstick handy?? Then you are all good! Your favorite cream lipstick product can act just like a cream blush! After your foundation is applied, you can apply the lipstick directly to your cheekbones, use your middle or ring finger to swirl it in until it sinks nicely, and ta-da! A natural looking flush of color!
I hope you enjoyed this video and please let me know in the comment section which one was your favorite or which one you’ll want to try out first! And of course don’t forget to subscribe to my YouTube Channel if you haven’t already 


