My kids always tell me that I have a nose built like a SKI SLOPE…but they say it in the most loving way:) And yes, from the side, my nose looks super pointy and thin (got it from my mama). But from the front, to me, I always want it to look a teeny bit thinner and more sculpted.
We’ve all got our “thing” when it comes to our faces don’t we??
Now I know there’s lots of insane contouring tutorials out there in internet land, but this isn’t going to be one of them. I have to remind people that those complicated heavy contouring jobs you see people doing on YouTube and Insta, actually look pretty gnarly and obvious in person. They have to do it heavier on those platforms so that the result is more dramatic so it shows up on their cameras.
But the key to contouring in real life – is for no one to KNOW that you contoured! And it is possible to get a sculpted slimmer looking facial feature with a realistic subtle finish.


I’m going to show you how I slim down one of the most asked features for my clients, and that is THE NOSE. It seems tricky but it doesn’t have to be.
There are TWO levels of contour I’ll share.
- First is with just a cream contour kit, shown above with nose defined. (I like creams bc they seem to blend easier and look more realistic than powder kits. But this is completely personal, so if you are more comfortable with powders, go for it.)
- The second level is to add one more step the to the first level by adding a actual highlighter powder on top of your cream contour for a little extra oomph + definition!
So you’ve got options…
Here are a few easy steps to show you how to sculpt your sniffer…
TO BEGIN : You will start by applying your normal complexion makeup whether that be that a foundation, tinted moisturizer, BB cream, etc. You will be contouring your nose AFTER you’ve applied foundation, concealer, or whatever you typically wear.
STEP #1 + #2 : CREATING DIMENSION OF HIGHLIGHTS +LOWLIGHTS


Contour kit : LORAC Cream Contour Kit, $45 / Highlighter + Blush palette : It Cosmetics, $48 // Straight Edge concealer brush : Kat Von D, $24 // Concealer Buffing brush: Sephora, $24 // Setting Spray : NYX, $9
You’re going to start by highlighting the center of your nose with a light shade (about 2-3 shades lighter than your normal skin tone) from a contour kit such as this LORAC cream contour palette. (the Anastasia one I photographed in this post is sold out, so the LORAC is the most similar)
You’ll take your light shade down the bride of your nose in a thin line. I like to take mine to the end for lengthening OR you can stop it just short of the tip if you like a shorter nose with just slight definition.
I use a thin flat shaped concealer brush that allows for precise application of both the lighter and the darker.

*Side note : I mixed the 2nd lightest shade + yellow from this palette bc my nose tends to go a bit red, and the yellow helps to tone that down.*
After the light shade is applied, I will wipe off my flat brush with a tissue to get any remaining light product off, then go onto dipping into a darker shade for the next step.
Now you’ll be receding the side areas of the nose with a darker shade. I used the lightest dark one (if that makes sense!) on the far left of this palette. Start up towards the inner corner area of your eye and then draw straight down each side of your nose and wrap the end/tip of the nose with the darker shade as well.
Obviously the darker you go, the more defined your nose will look, and the if you’re on the lighter end of dark, it will be more subtle. I went more subtle.
It looks wacky, but stick with me….
STEP #3 : BLEND + BUFF!
 Now is when I like to switch down to a fluffier concealer brush.
Blend down the lightest shades first into the skin, then wiping off again this brush with a tissue. Continue onto buffing down the sides of the nose with the darker shades until they seamlessly blend into your foundation.
STEP #3 : EXTRA STEP – ADDITIONAL HIGHLIGHTING

After doing your final blend with your brush (or even taking your finger to warm up and move around any stubborn product) you can be DONE with your natural looking sculpt job!! Clap Clap Clap!!
OORRRR you can take it a step further and add an actual subtle powder highlighter (nothing too glittery tho).
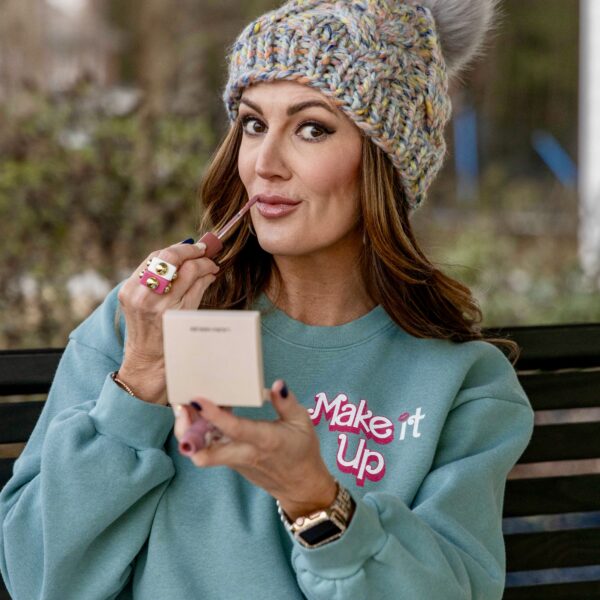
I like this one from my go-to It Cosmetics quad that also contains the pink blush color I’m wearing in these photos. Use a simple Qtip to dip into the highlighter then placing it down the dead center of the nose.
Qtips are great because they’ll give you just enough product without making the line down your nose too wide.
Don’t forget to finish off your hard work by spraying your face and nose with a makeup setting spray!!
If you aren’t sure you want to spend a ton of money on contouring palettes like the Anastasia one I used, but would like to try this method with a cheaper product – give this $14 L’Oreal one a try.
Does this seem easy enough or like too much work? Will you be trying this sculpting method?
(This post contains affiliate links so I may earn a small commission if you decide to buy any of the products mentioned that I personally use. Thanks so much for supporting JennySue Makeup with each purchase!!)


