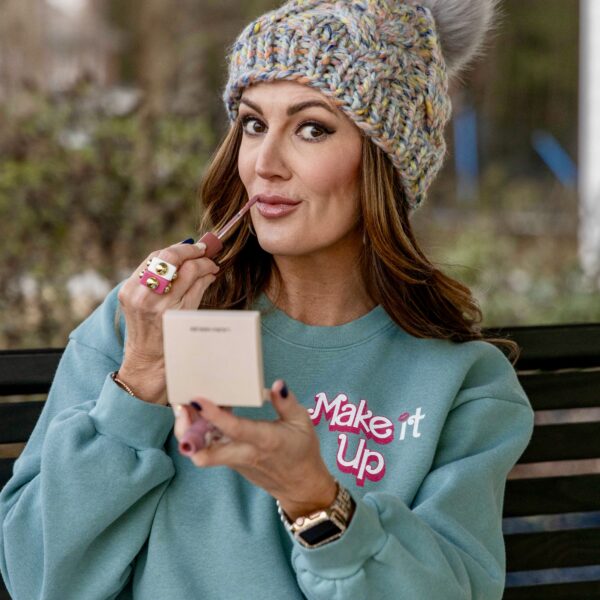
Since makeup artistry is my job, I consider it a job requirement for me to have LOTS of makeup brushes.
I have acquired QUITE the collection of makeup tools over the years and don’t see it slowing down anytime soon. You can’t paint a masterpiece (face) without a good quality makeup brush. No foam applicators found in makeup palettes need apply…yikes!!!
There have been times I’ve worked on a client where I seriously could use up to 20 different brushes on her one face. But in real life doing my own makeup in my bathroom at home, that’s not normally the case.
There ARE a few specific ones that I latch onto when doing my OWN face of makeup.
Today I’m sharing my go-tos in the category of “what makeup brushes do I really need??” as I’ve gotten multiple requests for this type of post over the years. I apologize for it taking so long to write this one
I understand that the variety of makeup brushes out there can be super overwhelming so I’m here to help take the confusion out of which ones I think are best and how you use them. They make them in different shapes and sizes for a reason!!
You will find various price points of my favorite brushes and that I don’t use just one particular brand. I do have some fave brands however when it comes to brushes from the likes of It Cosmetics, Real Techniques, and MAC cosmetics being my top 3 favorites in the brush category.

So let’s jump into this with some BASIC BRUSH RULES OF THUMB before I detail out exact brushes I use.
- For starters, when you are applying creams or liquid products, I find that synthetic haired bristles work best. This is because they don’t absorb any of the product into the hairs which allows them to blend much more effectively.
- For powder products, real hair fibers and/or synthetic works just about the same so therefore it just becomes a personal preference.
- When washing your brushes, well, that’s REALLY important to their longevity. And it’s super easy.
- How to clean them : I use a dish washing liquid from Target. Yep, Mrs. Meyers Lemon Verbena. Just make sure that whatever dishwashing liquid you use contains some sort of skin nourishing oil in it (to keep the bristles from completely drying out) like almond, olive, jojoba, etc. The one I use from Target has lemongrass oil and it makes my brushes smell squeeky clean!! Just a few drops of the soap onto the bristles, run under warm-hot water, then scrub with hands (or onto a silicone brush tray, my favorite way) until the water runs clean and no more makeup runs out. Then lay flat to dry on a towel on your bathroom counter and let air dry overnight.
Okay NOW for what you started reading for… my MAKEUP BRUSH BREAKDOWN!!

We will start with EYES.
1. 2-in-1 eyeshadow brush. It Cosmetics No Tug Dual eyeshadow brush, $24, that has one larger side for all over color and shading and then a shorter bristled side for smudging eyeliner to give it a softer appearance. I mean who doesn’t love a product/tool that does two jobs in one??
2. Crease brush. This Perfect Crease duo set from Real Techniques, $6, is a fave for really getting into that crease area (around your eye socket) and creating a clean and defined crease look! It’s got a crease prep brush which has densley angled bristles to apply an even base of shadow along your lid, then the defining crease brush with longer fluffy bristles that help with precise application into your crease.
3. Eyebrow brush. The E.L.F brand is great for super cheap but quality brushes, and this brow + spoolie combo brush is perfect to getting the job done at only $3. Drawing on the perfect brow with the angled side for powder products then raking the product through with the spoolie to even out and product and combing brow hairs.
4. Liner brush. If you prefer gel liners or drawing on your liner with a shadow as opposed to a pencil then this Real Techniques metals brush, $13, is the BOMB!! It’s got a great angle to draw a wing or a nice thin line along upper and lower lashes.
5. Concealer brush. I consider this an eye brush since the main place I apply concealer is right under my eye bed where those nasty dark circles lie!! This Dual contractable one from It Cosmetics, $24, has two sides, the rounded edge side for applying the creamy product just where you need it under eyes and around the crooks of the nose, then the fluffy side that buffs in the actual product to give you an airbrushed appearance.
Let’s move onto FACE.
5. Liquid foundation brush. I’ve said it a million times, but this it Cosmetics Airbrush smoothing one, $22, is the JAM!! It’s rounded bristles and medium head is the best size for pretty much every face and buffs in liquid foundation like nobody’s business. It’s just awesome.
6. Large powder brush. I use bronzer and pressed/loose powder very sparingly, so a big fluffy brush is key so that the product doesn’t get too concentrated anywhere on the face. This Real Techniques brush, $8, is just perfect and ever so slightly tapered at the top so that you can get precisely where you need to. It is described as a blush brush but I don’t use it for that 
7. Blush/contour brush. This might be categorized as my favorite brush right now to apply blush with because it gives just the right angle and amount of color on your cheekbones! Granted it’s the priciest one on the list, but I think it’s totally worth every penny. The Powder and Sculpt Charlotte Tilbury brush, $49, can apply your blush, a bit of bronzer to contour cheekbones with, and even powder underneath the eye beds to set concealer with, all because of it’s perfected tapered bristles! And I’m a little obsessed with the Charlotte Tilbury brand anyway because she’s a genius makeup artist and makes her clients always look sooooo glamorous!!
8. Highlighter brush. I use this Morphe brush #5M10, $8, for highlighting. It’s just wide and fluffy enough to accentuate the cheekbones, bridge of nose, brow bones, and cupids bow and helps deposit just the right amount of highlighter without going overboard!
That’s it for my heavy rotation brushes and what they’re all used for. Of course you could always add in a lip brush but most of the time it’s a bigger pain than it’s worth to use one unless you’re doing someone else’s lips like I have to!!
Now I have a question to ask you. Do you think the more expensive the better when it comes to makeup brushes or do you have a mix like I do of high end and low end??


