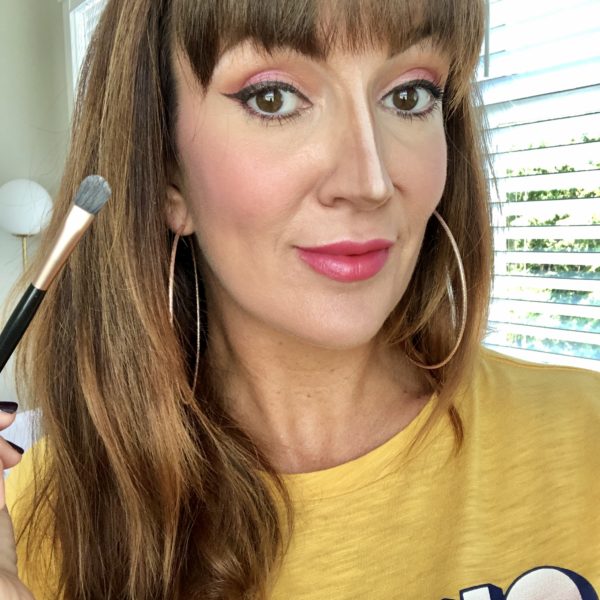
1. BLUSH – apply right on the plump apples of the cheeks taking it back towards your ear. I used MAC “fleur power,” $22 – y’all probably get tired of hearing about this shade, but I seriously can’t get enough of it! Use a slanted small blush brush instead of a fat fluffy one that will apply too much color.
2. CONTOUR COLOR/BRONZER – the key is to choose a dark brown (no orange!) bronzer that almost errs on the side of grey to create realistic hollows in the cheeks. Orange sparkle bronzer need not apply. I like and used Nars “Casino,” $38 – the perfect contour shade for my light to medium skin tone.
3. HIGHLIGHTER – this product should go right on top of your cheek color but start further up towards the end of the eye and create a half moon shape up to the temple. I live and die for this Too Faced Snow Bunny Bronzer, $30 palette which includes a white highlighter, bronzer, and 2 shades of shimmer pink (the pinks can work for her highlighter too). I used the white here.
How easy is that?? 1, 2, 3, CHEEKBONES!! Of course if you wanted to exert a bit more energy you could do different shades of foundation and concealers in this same fashion, but this powder route is my time saver! My biggest tip when implementing these three steps – blend, blend, and blend some more. When you think you’ve blended enough, blend again!!
* My lip color is Stila Stay All Day liquid lipstick in “Carina” if you were curious.
How do you get razor sharp cheekbones?


