Every one, man or woman, wants better looking skin. It’s really the first thing people notice about your face, without actually realizing it.
People say, “oh, it’s the eyes that I notice first on a person and draw me in.” Weeelllll, if those eyes are surrounded by red blotchy skin or a big angry pimple in between them, then those eyes are secondary in what we see. I will go ahead and preface this blog by admitting, I am NOT a dermatologist. I don’t claim to be one and never have. I can only tell you what works for me and my skin. But hopefully you will get something out of these tips that can work for you.
And if you happen to have skin like mine…
- normal to dry
- with few to no breakout problems
- around the age of 30 something
…then maybe these products I mention will do exactly for you what they do for me!!
I did some before and after pictures of my skin for you to see how I get my skin to go from drab to fab!
Doesn’t everybody like some good before and after pics?? I will share with you my steps of how I apply my makeup to make a cashmere-like complexion.
1. Face primer applied to clean and moisturized skin. I like Smashbox’s Photo Finish Foundation Primer ($36), it’s won tons of beauty and magazine awards so I trust it. And I’ve used it for years.
2. Foundation. This is where it can get tricky because you must choose a foundation formula depending on your specific skin type. I have fairly dry skin, so I choose a more hydrating foundation like Maybelline’s Dream Smooth Mousse in color creamy natural ($9). So if you have oily skin, obviously go for an oil free foundation.
3. Concealer. I have on my pricey Yves Saint Laurent Touche Eclat in color 2 ($40). This is applied under the eyebed, along the corners of my nose, and sides of my mouth. It has slight luminizing properties in it which keep my skin from looking too matte, with just enough dewy-ness!
4. Translucent powder. This can be pressed or a loose powder. But I like to press mine into my skin with a powder puff in rolling motions. This sets the foundation and concealer and fills in any cracks before adding color, ie., bronzer and blush.
5. A matte bronzer. I keep reading that matte bronzers look more natural and realistic than the ones with shimmer in them, which I own a ton of. But truly, the matte bronzers in the mosaic forms with multiple bronze colors in them, I find DO look most realistic bc there are more color options blending together. I have on Palladio’s herbal mosaic powder in sun kissed ($8).
6. Blush. A good flush of color will always ramp up the rest of your skin look and make it look super healthy. Again, since I have dry skin, so I used a cream stick blush for more hydrating purposes and for a more natural look. Nar’s The Multiple stick in portofino ($38) did the trick with it’s shimmery peachy properties.
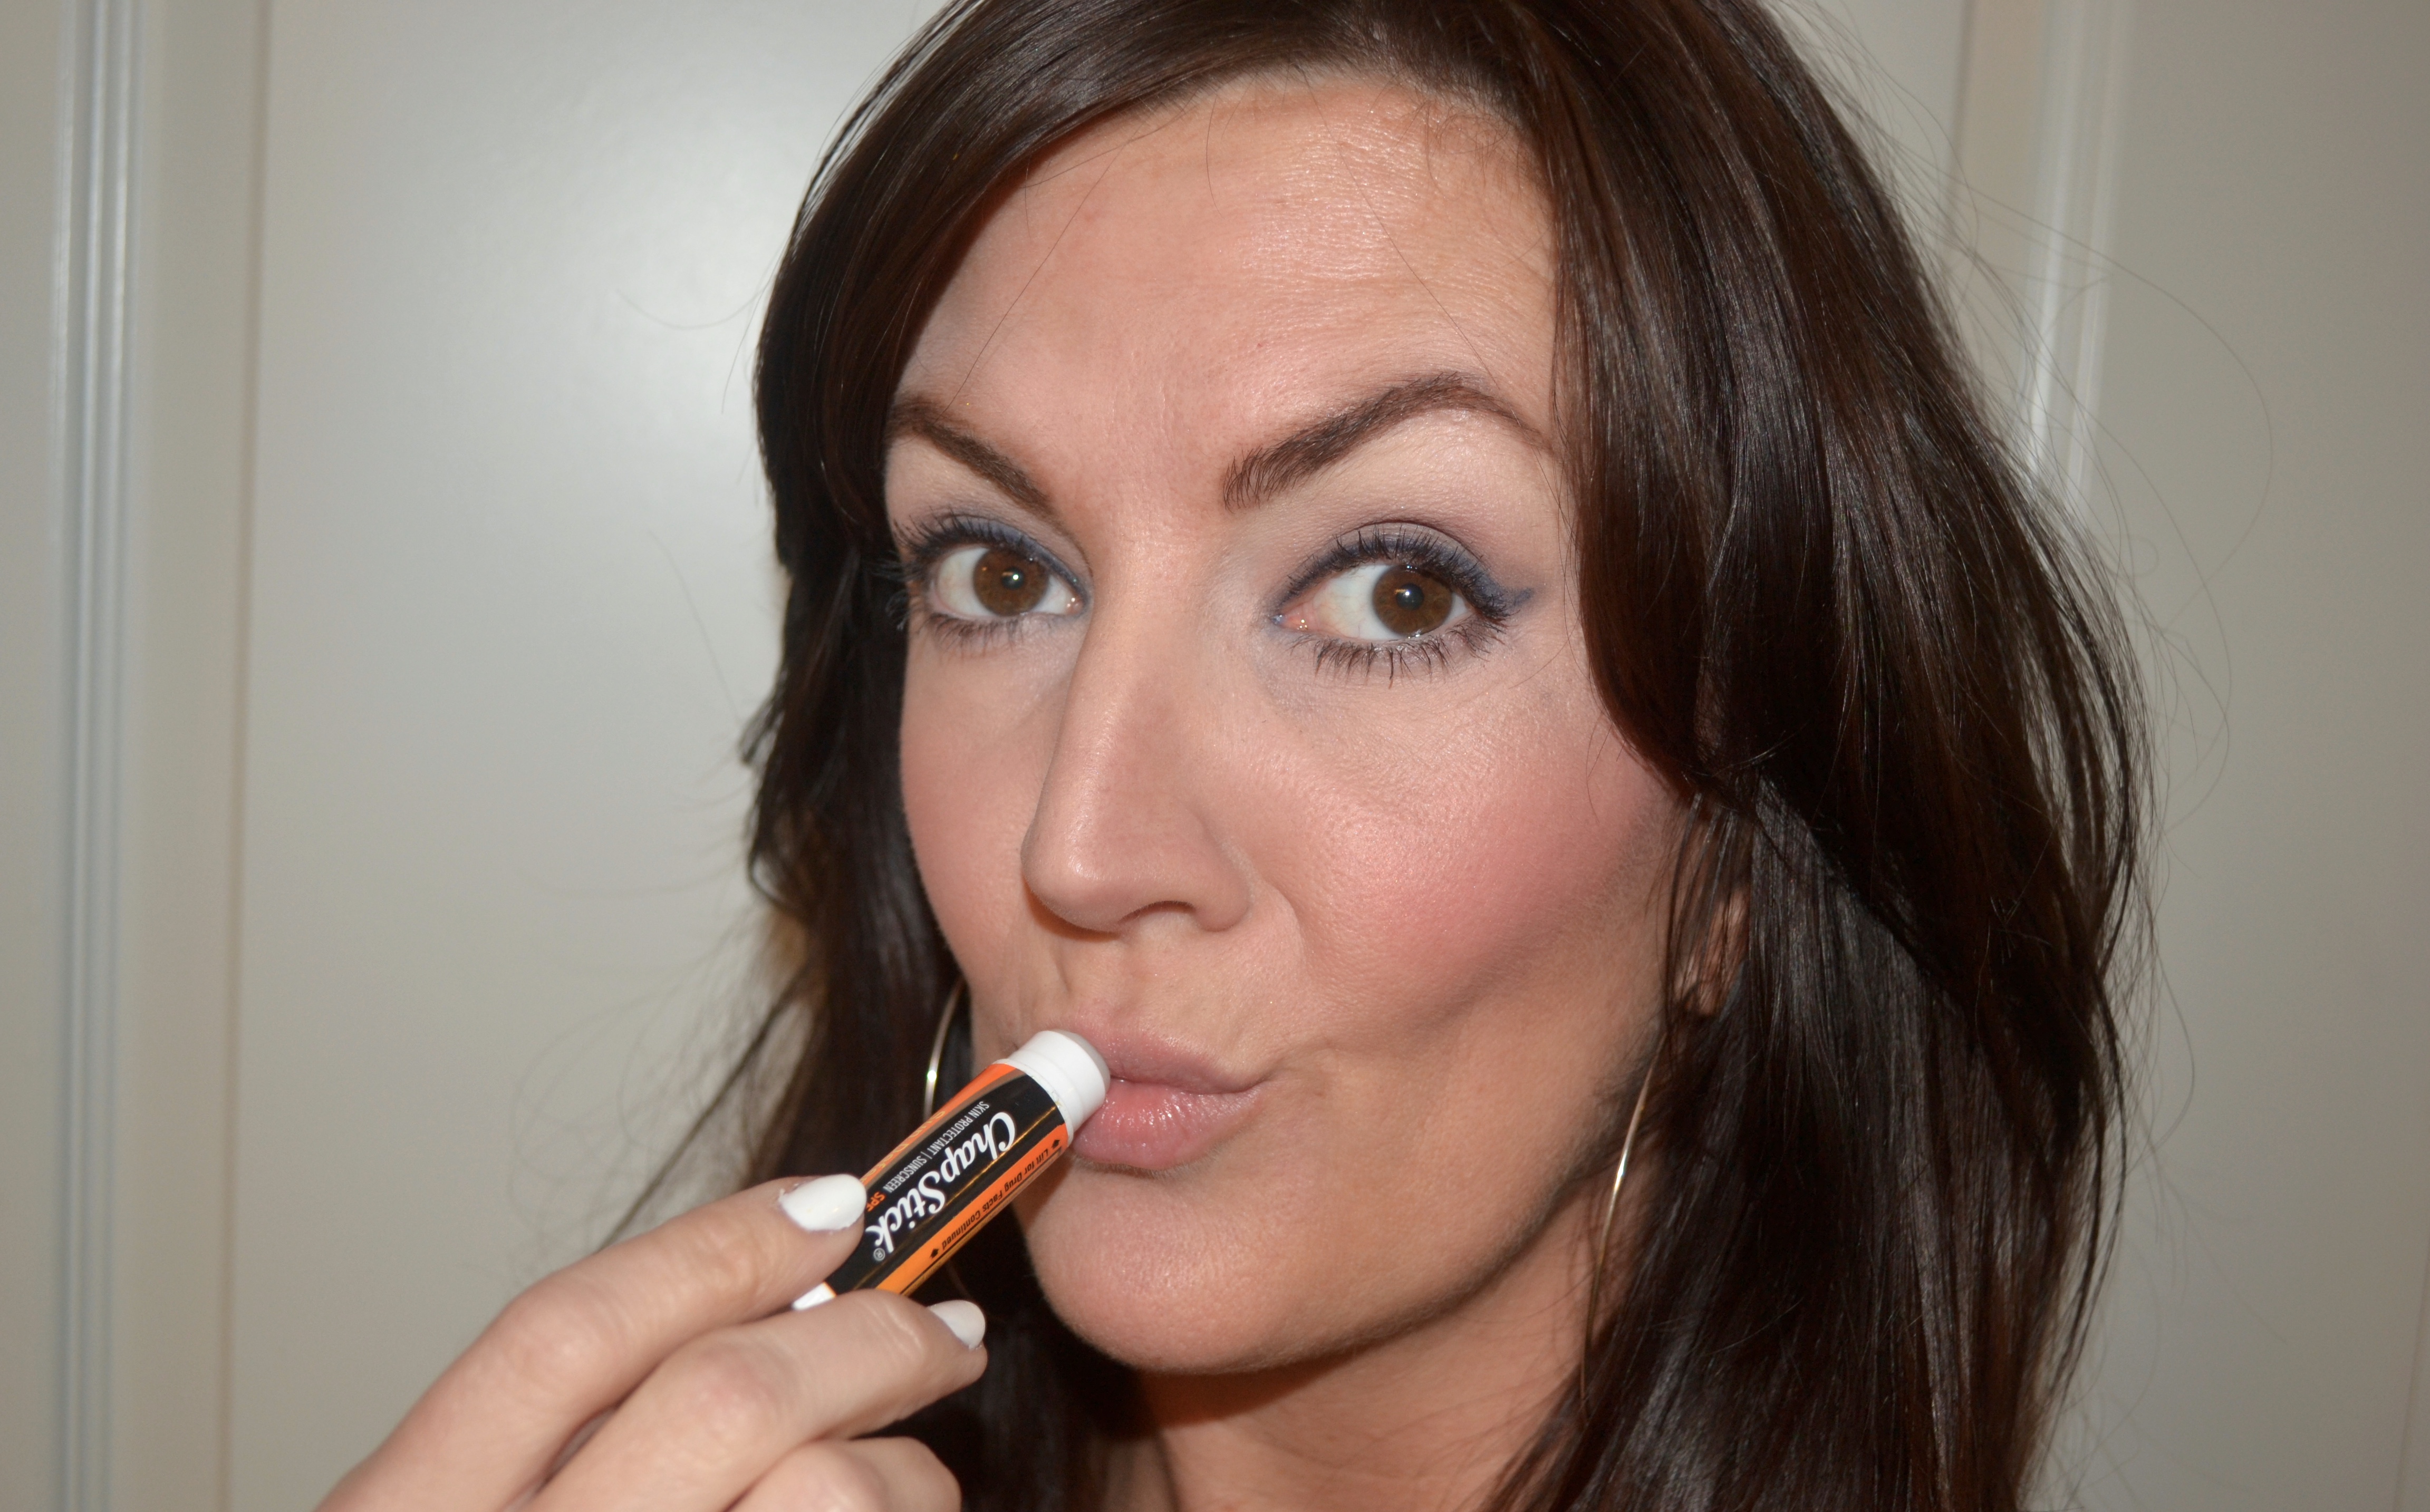
And before even all of this makeup was applied, I relied on my affordable night cream that seems to be truly working wonders on my skin. I feel I have fewer fine lines (not saying this takes away deep wrinkles or anything crazy like that-I said fine lines!), brighter skin, and more even skin tone. It’s by Avon, their Reversalist Night Renewal cream ($30) and it is quite lovely. This picture to the right is obviously after all of my makeup was applied, but it still shows that my skin is looking pretty darn good thanks to this product. Gotta have a clean canvas before you can paint your masterpiece right??!


